


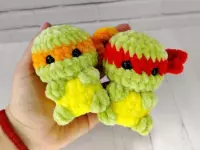


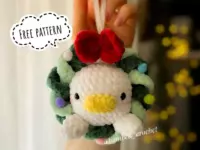
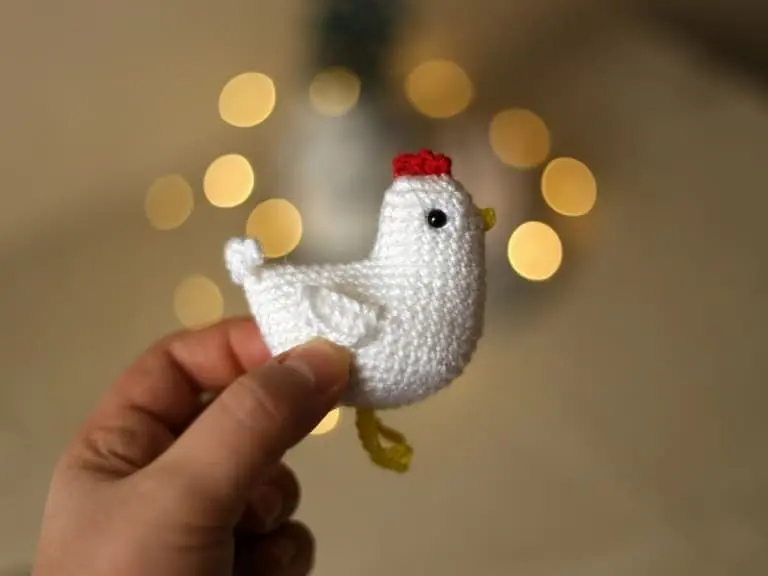
Create a cute chicken amigurumi for Easter with this free amigurumi pattern. This is a quick and easy amigurumi pattern, perfect for intermediate level crafters. The head and body are crochted as one whole detail. The comb, beak and tail are crocheted on the head and body. When crocheting from the recommended yarn, the chicken turns out to be about 5 cm (2 inches) long.
Designer: @mamafufa
You will need:
- YarnArt Baby Cotton yarn (50% cotton, 50% acrylic, 50 g/165 m) / Kartopu Amigurumi yarn (51% acrylic, 49% cotton, 50 g/165 m)
- 1.75-2.0 mm crochet hook
- 6 mm safety eyes
- Stitch markers
- Tapestry needle
- Scissors
- Fiberfill
Free amigurumi chicken crochet pattern
Abbreviations:
R – row
ch – chain
st/sts – stitch/stitches
sl st – slip stitch
sc – single crochet
hdc – half double crochet
dc – double crochet
inc – increase (2 single crochet in 1 stitch)
dec – decrease
[…] – number of stitches you should have at the end of the row
(…) – repeat whatever is between the brackets the given number of times

Head and body (one piece)
R 1: 6 sc in magic ring [6]
R 2: (inc) repeat 6 times [12]
R 3: (1 sc, inc) repeat 6 times [18]
R 4: (2 sc, inc) repeat 6 times [24]
R 5: (3 sc, inc) repeat 6 times [30]
R 6: (4 sc, inc) repeat 6 times [36]
R 7: (5 sc, inc) repeat 6 times [42]
R 8-15: 42 sc (8 rows)
Now we divide the body in two equal parts, inserting the hook into the opposite side (each part is 21 sts).
R 16-18: 21 sc (3 rows)
R 19: (5 sc, dec) repeat 3 times [18]
Insert safety eyes between R 19 and R 20.
R 20-21: 18 sc (2 rows)
R 22: (1 sc, dec) repeat 6 times [12]
R 23: (dec) repeat 6 times [6]
Close the opening on the second part of the body by sewing the two layers together with a needle.

We will crochet the tail from the remaining yarn.
Tail
(ch 5, make a slip stitch into the body) repeat 3 times.
Fasten off.

Wings
The two wings are crocheted differently.
First wing
Make ch 7.
Starting from the 2nd ch from the hook, crochet in order: 2 sc, 2 hdc, 2 dc.
Fasten off and leave a long tail for sewing.
Second wing
Make ch 7.
Starting from the 2nd ch from the hook, crochet in order: 2 dc, 2 hdc, 2 sc.
Using a needle, pull the yarn tail to the other end.
Sew the wings to the body.

Comb
Attach the red yarn at the top of the head.
(ch 3, make 1 sc into the head) repeat 3 times.
Fasten off and weave in the ends inside.
Beak
Attach a yellow thread just below the eye. Leave the yarn tail sticking out to the side, as in the photo below.
Ch 3, make 1 sc in the head, above the first point.
Bring the yarn out at the same point where the tail sticks out. Tie the two tails together and hide them inside.

Paws (make 2)
Make ch 8.
In the 4th ch from the hook, make a slip stitch. Ch 3 again and make a slip stitch into the same chain. For the third toe, ch 3 and make a slip stitch into the same chain. Crochet 4 sc along the chain. The paw is done.

Sew the paws to the bottom of the body.

0 Comments